Helpdesk
New school year - Secondary Education (NL)
How do you purchase subscriptions?
A. If you buy the licenses directly from Holmwoods, choose the explanation for importing with Excel or csv list.
B. If you purchased the licenses through a Dutch or other school supplier (TLN/Van Dijk, Iddink, Osinga de Jong), please read the section regarding the specific process or contact our support staff. support@holmwoods.eu.
A. Importing students via Excel or csv list (All countries)
When you create/update the student accounts using an excel or csv list, it is important to do the following when changing course years.
NB. In this explanation we assume that you already have student accounts in our system. If you are importing students for the first time, step 1 is not necessary.
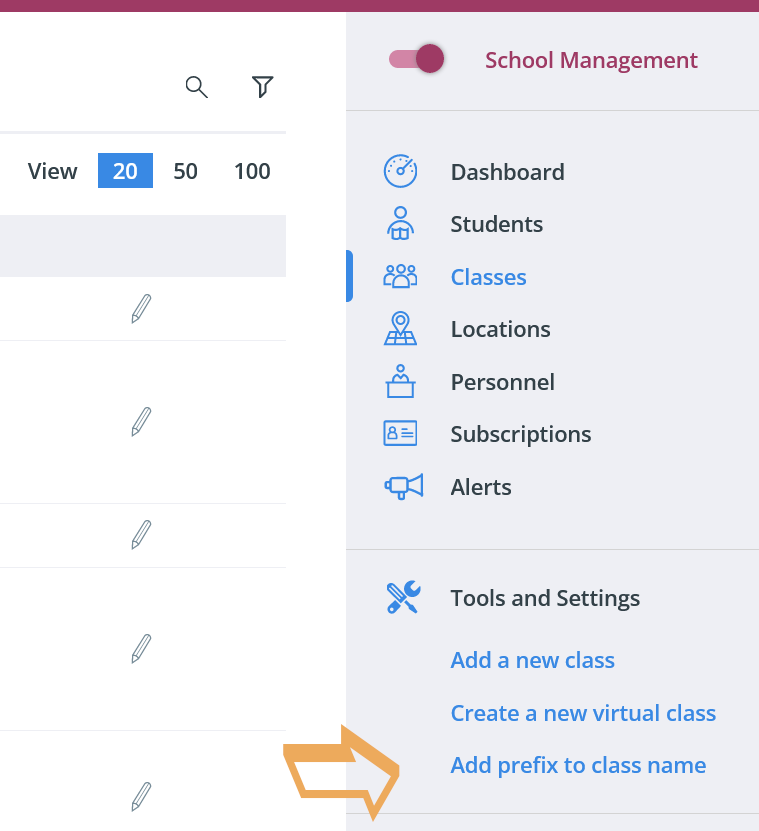
- Before you import the new student list, adjust the names of all the classes. To do this easily for all classes, we have created a handy function for it.
Go to: Management > classes > Add prefix to class name (on the right in the menu, see image). - Go to: Students > Import a student list to import the new list. When importing, turn on the option “Remove users from their current class(es) if they already exist” .
Students who are already in our system will be removed from the ‘old’ class and placed in the new class, according to the class name in the new list.
Students who do not yet have an account will be created as a student. - After importing, disconnect the old classes from the subscription and connect the new classes.
When matching existing students, our system checks in 2 fields (in this order):
- Student number
If the email address in the list matches an existing account, the student account will be updated (e.g. New class). If the e-mail address is different, but the student number matches, our system will consider that as the 'same' student and an update will take place. In all other cases a new account will be created.
Tip: Also read the general information about reading student lists.
B. Log in via the Edu/ECK route (Netherlands Only)
When you have ordered Holmwood's licenses through a Dutch school supplier (Van Dijk / TLN, Iddink, OsingaDejong) we will deliver the licenses online via the Edu/ECK route. We do this in collaboration with our technical partner Access.org. The students MUST access our learning platform via the LMS the FIRST TIME. Then the ordered licenses are checked. The students click on the "Holmwood's link" within the LMS to log in to our learning environment).
What do you have to do?
1. Sign ARP and the processing agreement
Sign the ARP of Access.org and send it to us.
Holmwoods is affiliated with the Dutch Education Privacy Covenant. Sign the processing agreement if your organisation is based in the Netherlands. For other countries, please contact us.
2. Activate the Holmwood's subscriptions in the LMS (ICT department / LMS administrator)
Whether you need to do this step depends on whether your school has an External Book Fund (EBF) or Internal Book Fund (IBF).
In the LMS you have a catalog with subscription that are known in the Edu/ECK chain. Make Holmwoods available to the appropriate class (in the IBF way).
3a. Create the classes (Holmwood's administrator)
To ensure that the students end up in the correct classes, create the classes in the Holmwood's school management area before the students log in. If you also used Holmwood's in the past year, there is a good chance that the class names will remain (largely) the same. Add a new class (name) if necessary.
Also link the classes to the subscription (via School management > Subscriptions) and to the relevant teachers (via School management > Classes).
3b. Disconnect existing students
If you also used Holmwood's in the past school year, all (existing) students are already linked to a class. To ensure that they are linked to the correct (new) class at the start of the new school year, we recommend that all students be unlinked from their current class.
4. Create the class code (administrator)
Usually (via the eduroute/Kennisnet) the class comes along (when the student logs in), but sometimes not. If not: Create a class code for each class that the teacher gives to the students. This puts the students in the right class. The class code always has the same format; “H-” followed by 6 numbers/letters (eg H-9S9WUU).
5. Check/adjust course settings (administrator/teacher)
We recommend that you check/set the course settings before the first student logs in. Then the student can start immediately when they log in.
*1) Administrator or teacher? Within Holmwood's we have 2 other roles in addition to the 'student role'; Administrator and Teacher.
Each school has at least one administrator, but you can also have several administrators, e.g. an IT specialist/application manager who mainly takes care of the technical matters and the section leader who often mainly takes care of the 'educational matters'. The role “teacher” speaks for itself.
Need support?
If you are not sure about the steps above or if you want to make sure everything is 'correct', please don't hesitate to contact us.
If a student is unable to get to Holmwoods from the LMS via Access.org, then do the following:
Problem at LMS (e.g. no link to Holmwood's)? Ask your own application manager / learning resources coordinator.
Problem with logging in/filling in the Access.org fields, contact Access.org.
Problem regarding the Holmwoods learning environment, contact Holmwood's.
How does it work for you as a student?
1. Start from your LMS (Magister, Sum, etc.)
Login to your LMS and click on the Holmwood's link. If you do not see a link, or if you cannot reach the 'fill-in screens' of access.org (see point 2), ask your teacher or ICT administrator for help.
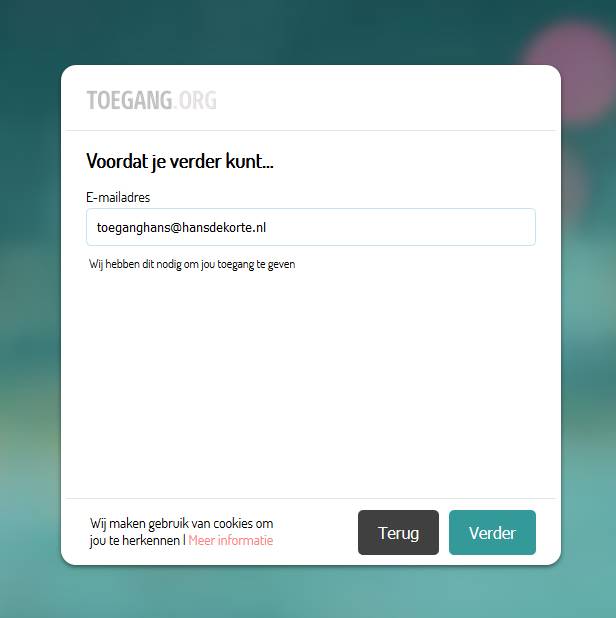
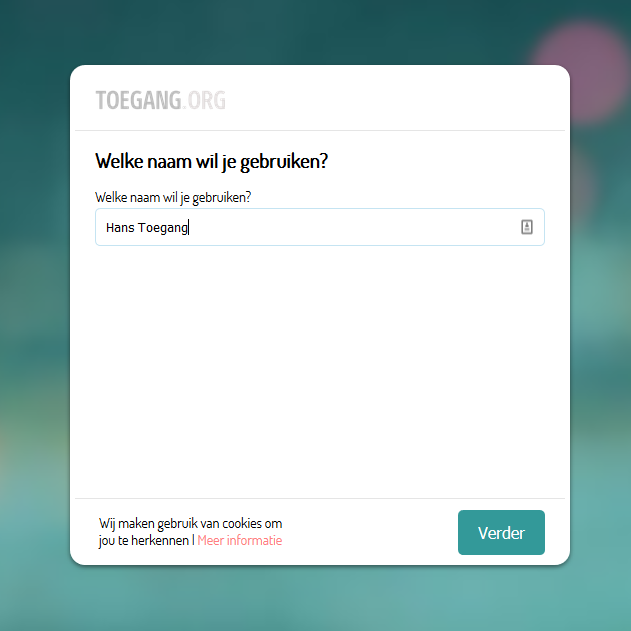
2. Complete the Access.org fields
After clicking on the link in the LMS you will see the following screens with input fields (enter your school email and first and last name):
3. Validate your e-mail address
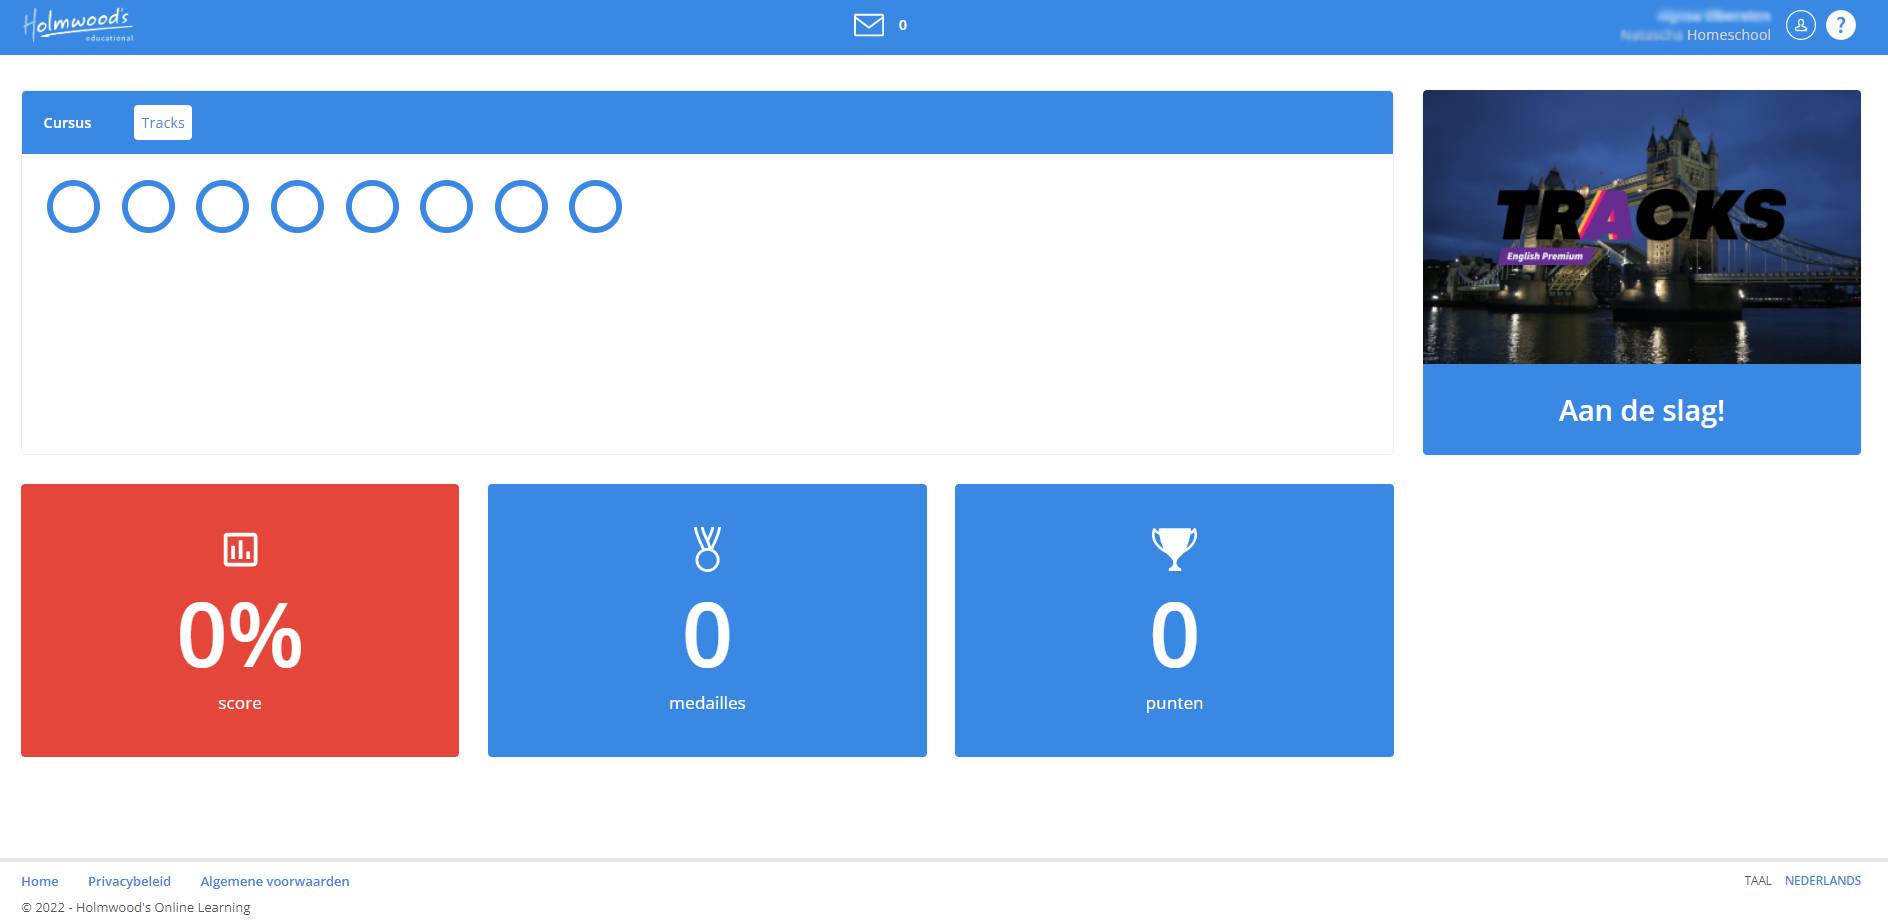
After filling in the above fields, you will receive a message from Access.org in your mailbox. Click on the link in that email. Don't see an email? Check your spam box. You will then be 'redirected' to the Holmwood's learning environment. If you have any questions or need help with steps 2 or 3, please contact Access.org. When you get the following screen after step 3, you can start the course. If you don't see this, read on below the screenshot.
2 Possible problems and solutions:
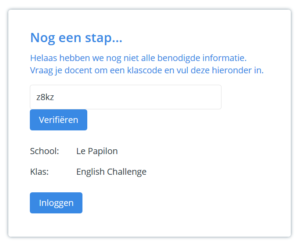
A. Because we do not always receive your class data, you are (sometimes) asked for a class code. Ask your teacher for this code, enter it and click on "verify". The class code always has the same format; “H-” followed by 6 numbers/letters (eg H-9S9WUU).
After entering your class code, check the school and class and click on “Log in”.
B. If you get the message "There are no courses assigned to your class", you will need to ask your teacher for help. You are then linked to a class, but the class must still be linked to a subscription. The teacher or school administrator can arrange this for you.
Sometimes you just need to refresh your screen or log again and then you can get started.
Good luck studying!